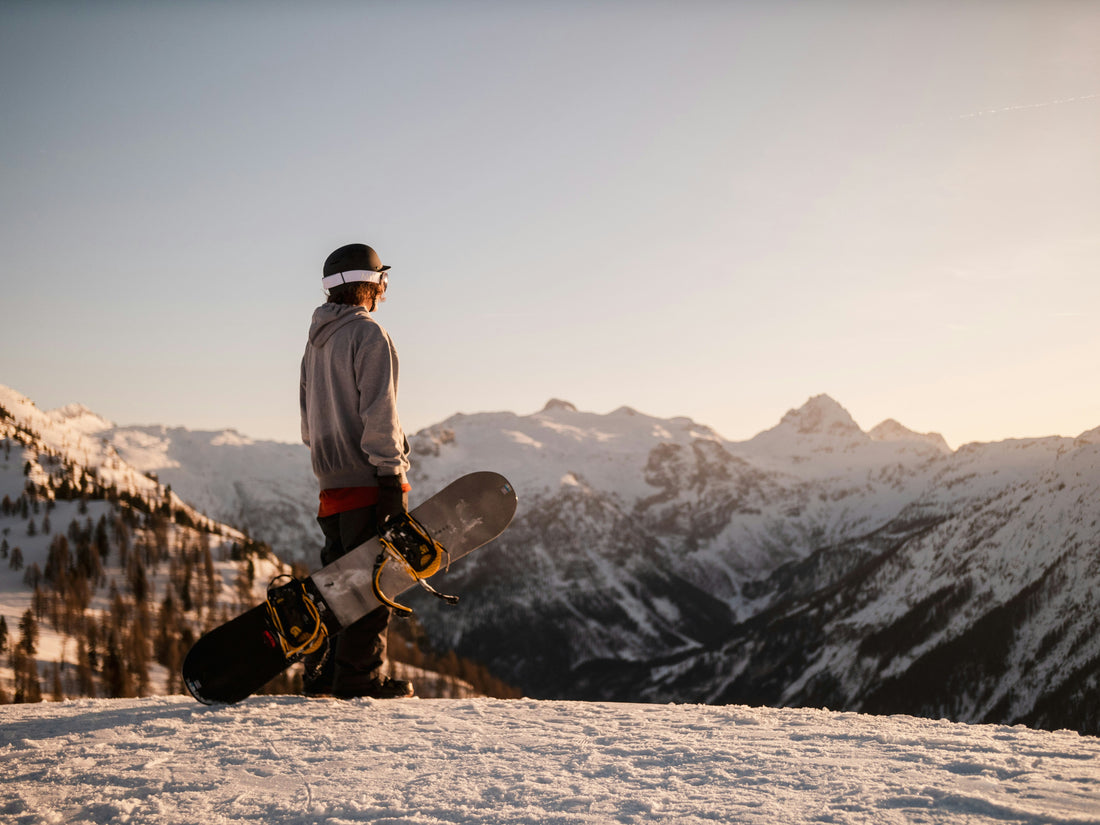
Snowboard Binding Positioning: A Guide to Getting It Right
Knowing how to position your snowboard bindings is essential for improving board control and ensuring a comfortable and safe ride. Whether you're a beginner or an experienced rider, proper binding placement can make all the difference in your experience on the snow. Let's see how.
What Do You Need to Position Snowboard Bindings?
Before you begin, make sure you have the following on hand:
- Your snowboard.
- The attacks.
- A screwdriver (usually a Phillips screwdriver).
- Your desire to customize your gear!
Step 1: Choose your Stance
The first step in snowboard binding placement is to determine your dominant foot. This will influence your stance:
- Regular : If your left foot is the one you use to drive, it will be in front.
-
Goofy : If you use your right foot instead, that will go in front.
One trick to find out is to slide on a smooth floor in your socks: the foot you put forward is probably your dominant foot.
Step 2: Angle of Attacks
The angle of your bindings is crucial for comfort and stability. Here are some basic configurations:
- +15°/-15° (Duck Stance) : Ideal for freestyle, it allows greater freedom of movement and stability.
- +15°/0° : Perfect for beginners, it is easy to handle and convenient to learn.
- +21°/+6° : Ideal for freeriders, it provides greater control on technical descents.
Step 3: Place the Bindings on the Board
Now it's time to attach the brackets. Follow these steps:
- Centering : Position your bindings so that your boots are equidistant from the edge of your board. This prevents one edge from touching the snow during turns.
- Stance Width : The distance between your bindings should be slightly wider than your shoulder width. Adjust the position of the screws on the pre-drilled holes to find the right width.
- Assembly : Once you've found the ideal position, secure the brackets with the screwdriver. Make sure they're secure.
Step 4: Adjust Spoilers
Spoilers are the rear part of the bindings, and their angle can be adjusted for greater support while riding. The more they are angled, the greater your control, especially on fast descents.
Final Positioning Tips
- Test and tweak : There's no one-size-fits-all setup. After your first few runs, you may want to make some adjustments to tailor the setup to your riding style.
- Use a non-slip mat : Placed between the bindings, it helps keep the foot stable when not clipped in.
- Don't overtighten : Avoid forcing the screws to avoid damaging the board or the bindings.
Correctly fitting your snowboard bindings is the first step to a comfortable and enjoyable session on the snow. With a little experimentation and practice, you'll find the perfect setup for your style and needs. Now all that's left to do is lace up your boots and enjoy the snow!
VISIT OUR SHOP TO FIND OUT MORE ABOUT NITRO, SNOWBOARD BINDINGS and other great products for your fun!

